Flutter Ecommerce app: Staggered Grid and Firestore
Introduction
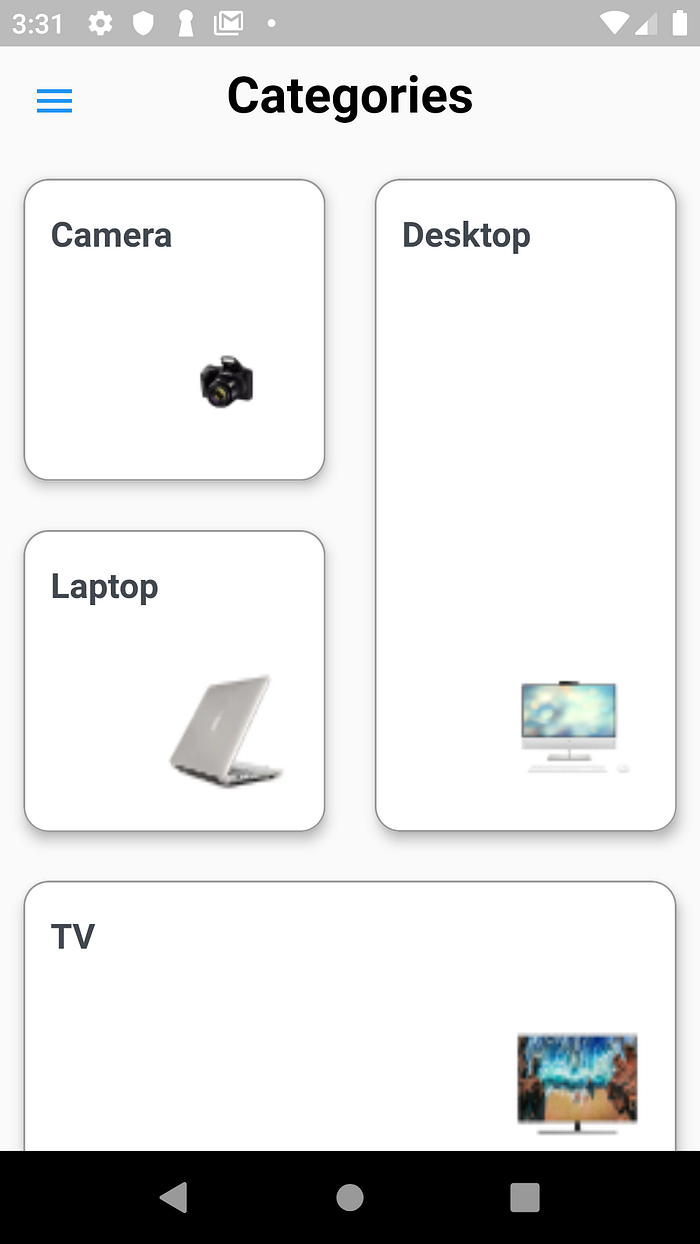
In this article I will be demonstrating how to use the Staggered Grid along with data pulled from a connected Firestore Database. I will be doing this using a screen used to display the categories of products on an E-commerce app I first designed as a prototype , and then implemented using Flutter and Firestore.

Staggered Grid — what is it?
The Staggered Grid View is basically an extension to the Grid View created by Romain Rastel. It allows us to create grids of varying heights and widths.
Im sure you have come across these sorts of grids as can be seen on the image sharing site, Pinterest.

Creating and configuring the project
To continue, you will need to complete the following points:
- Create a Flutter project using Android Studio (and import the necessary packages)
- Create and link a Firebase project to the Flutter Project
- Populate the Firestore Database with the necessary data
Create a Flutter project using Android Studio
Let’s make a Flutter project named online_store. In the pubspec.yaml file add the following packages
cupertino_icons: ^0.1.2
cloud_firestore: ^0.12.5
firebase_storage: ^3.0.1
firebase_core: 0.4.0+3
flutter_staggered_grid_view: ^0.2.7
transparent_image: ^1.0.0
and remove all the default code in main.dart , replacing it with the following code :
import 'package:flutter/material.dart';
import 'package:cloud_firestore/cloud_firestore.dart';
import 'package:flutter_staggered_grid_view/flutter_staggered_grid_view.dart';
import 'package:transparent_image/transparent_image.dart';

void main() {
  runApp(MaterialApp(
    home: Home(),
    debugShowCheckedModeBanner: false,
  ));
}

class Home extends StatefulWidget {
  @override
  _HomeState createState() => _HomeState();
}

class _HomeState extends State<Home> {
  @override
  Widget build(BuildContext context) {
    return Scaffold(drawer: Drawer(), body: Stack(children: <Widget>[]) //Stack;
        );
  }
}
Create and link a Firebase project to the Flutter Project
Follow the instructions in the links I embedded. Take note, to migrate to Android X.
Populate the Firestore Database with the necessary data
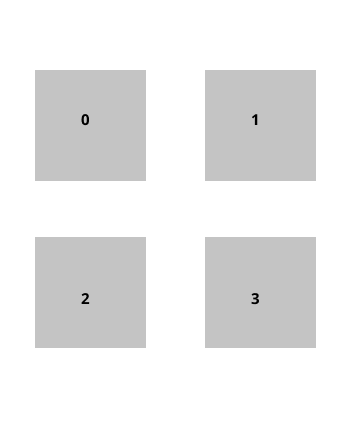
Once your database is up and running, go ahead and create the following structure — A products collection followed by 4 documents , each with the 4 fields seen for the Camera document.
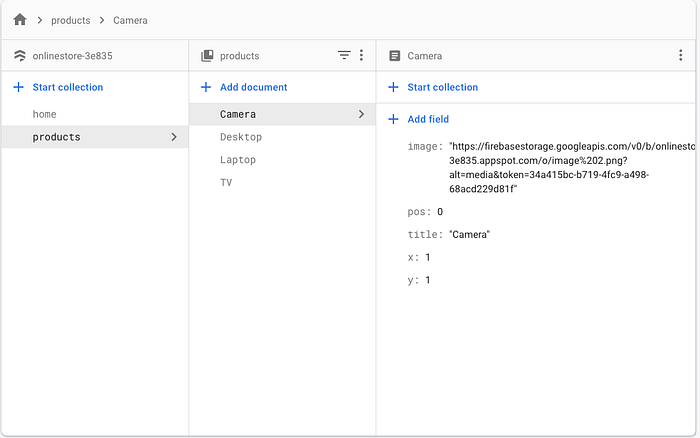
Take note, to sequentially order the documents in the “pos” field, from 0 to 3 as this will influence where each item is displayed on the screen, in a clockwise manner. Also, keep the order of fields the same for all documents — image, pos, title, x, y.
The complete project is available on GitHub at this link:
Thank you for reading! Feel free to make any other suggestions or recommendations for future challenges. Leave a few claps if you enjoyed it !